Connect to your Stripe account
In order to configure your Stripe or RevenueCat Billing apps you will need to connect to your Stripe account first.
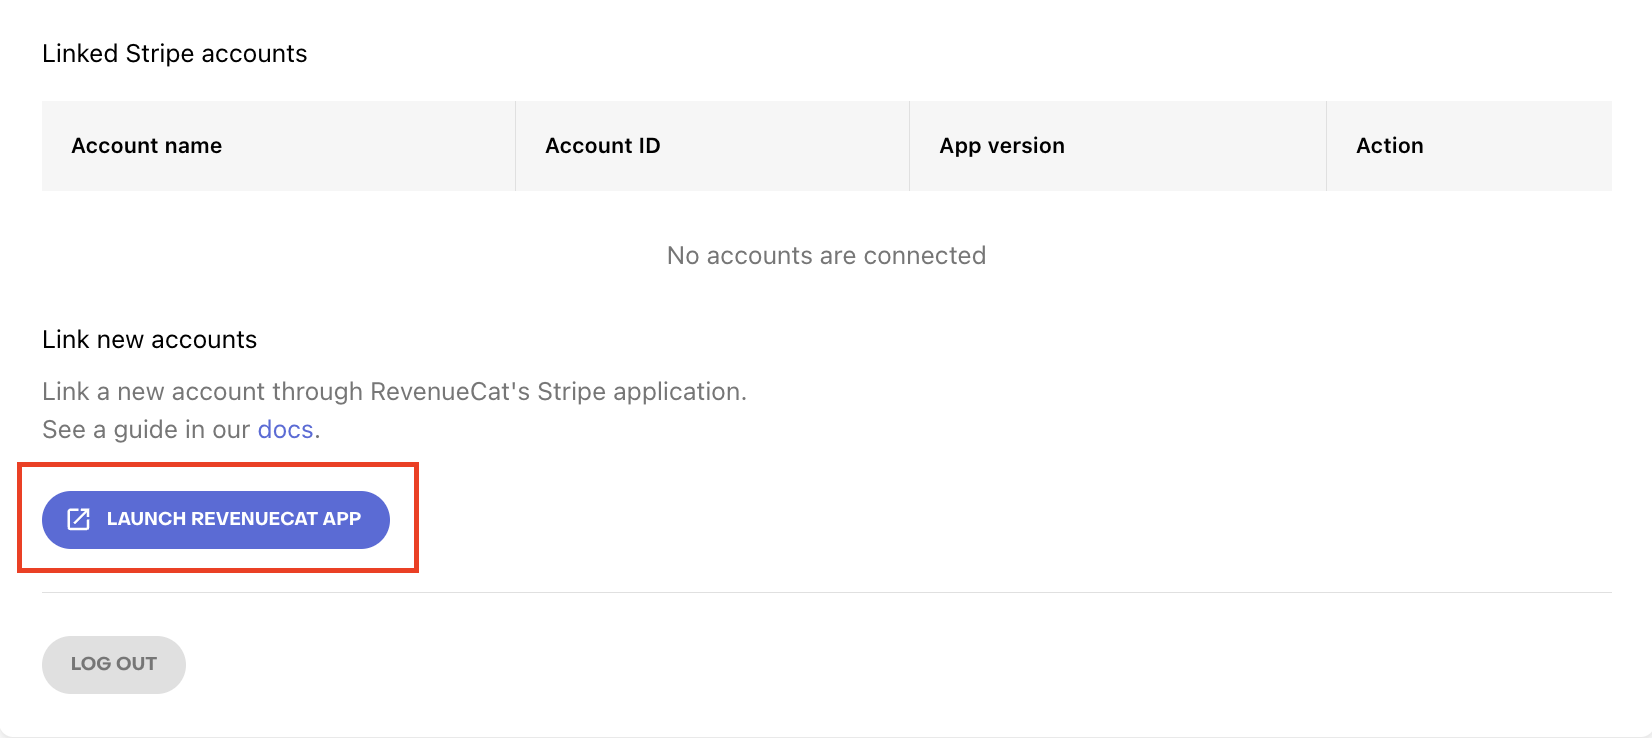
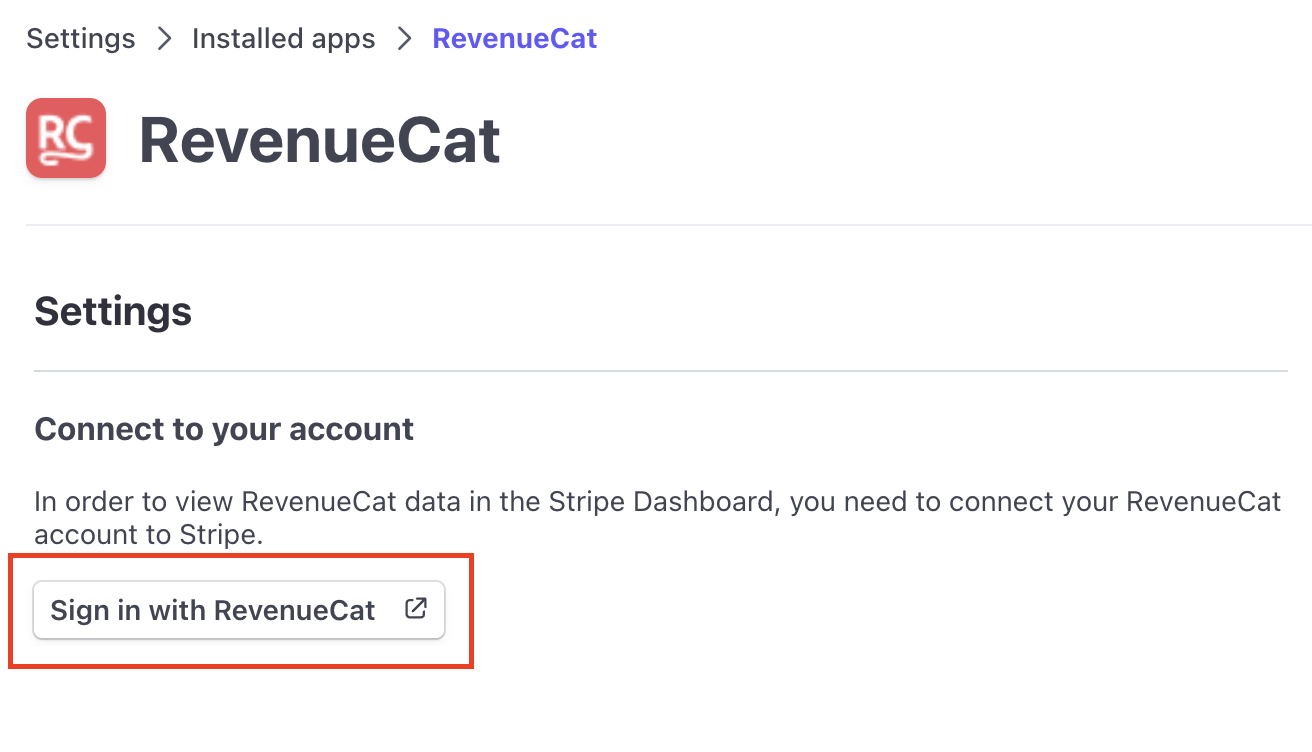
Log into RevenueCat and click the Launch RevenueCat App button in your account settings.
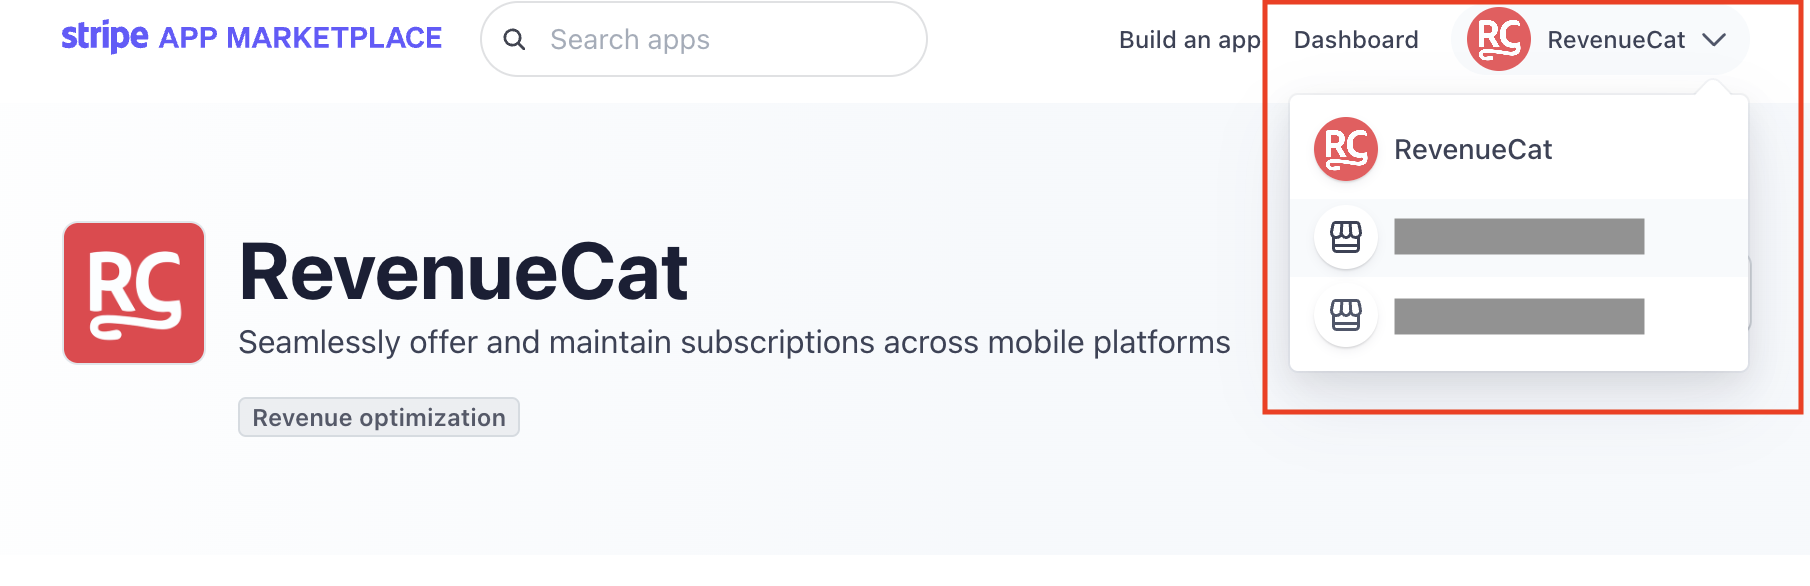
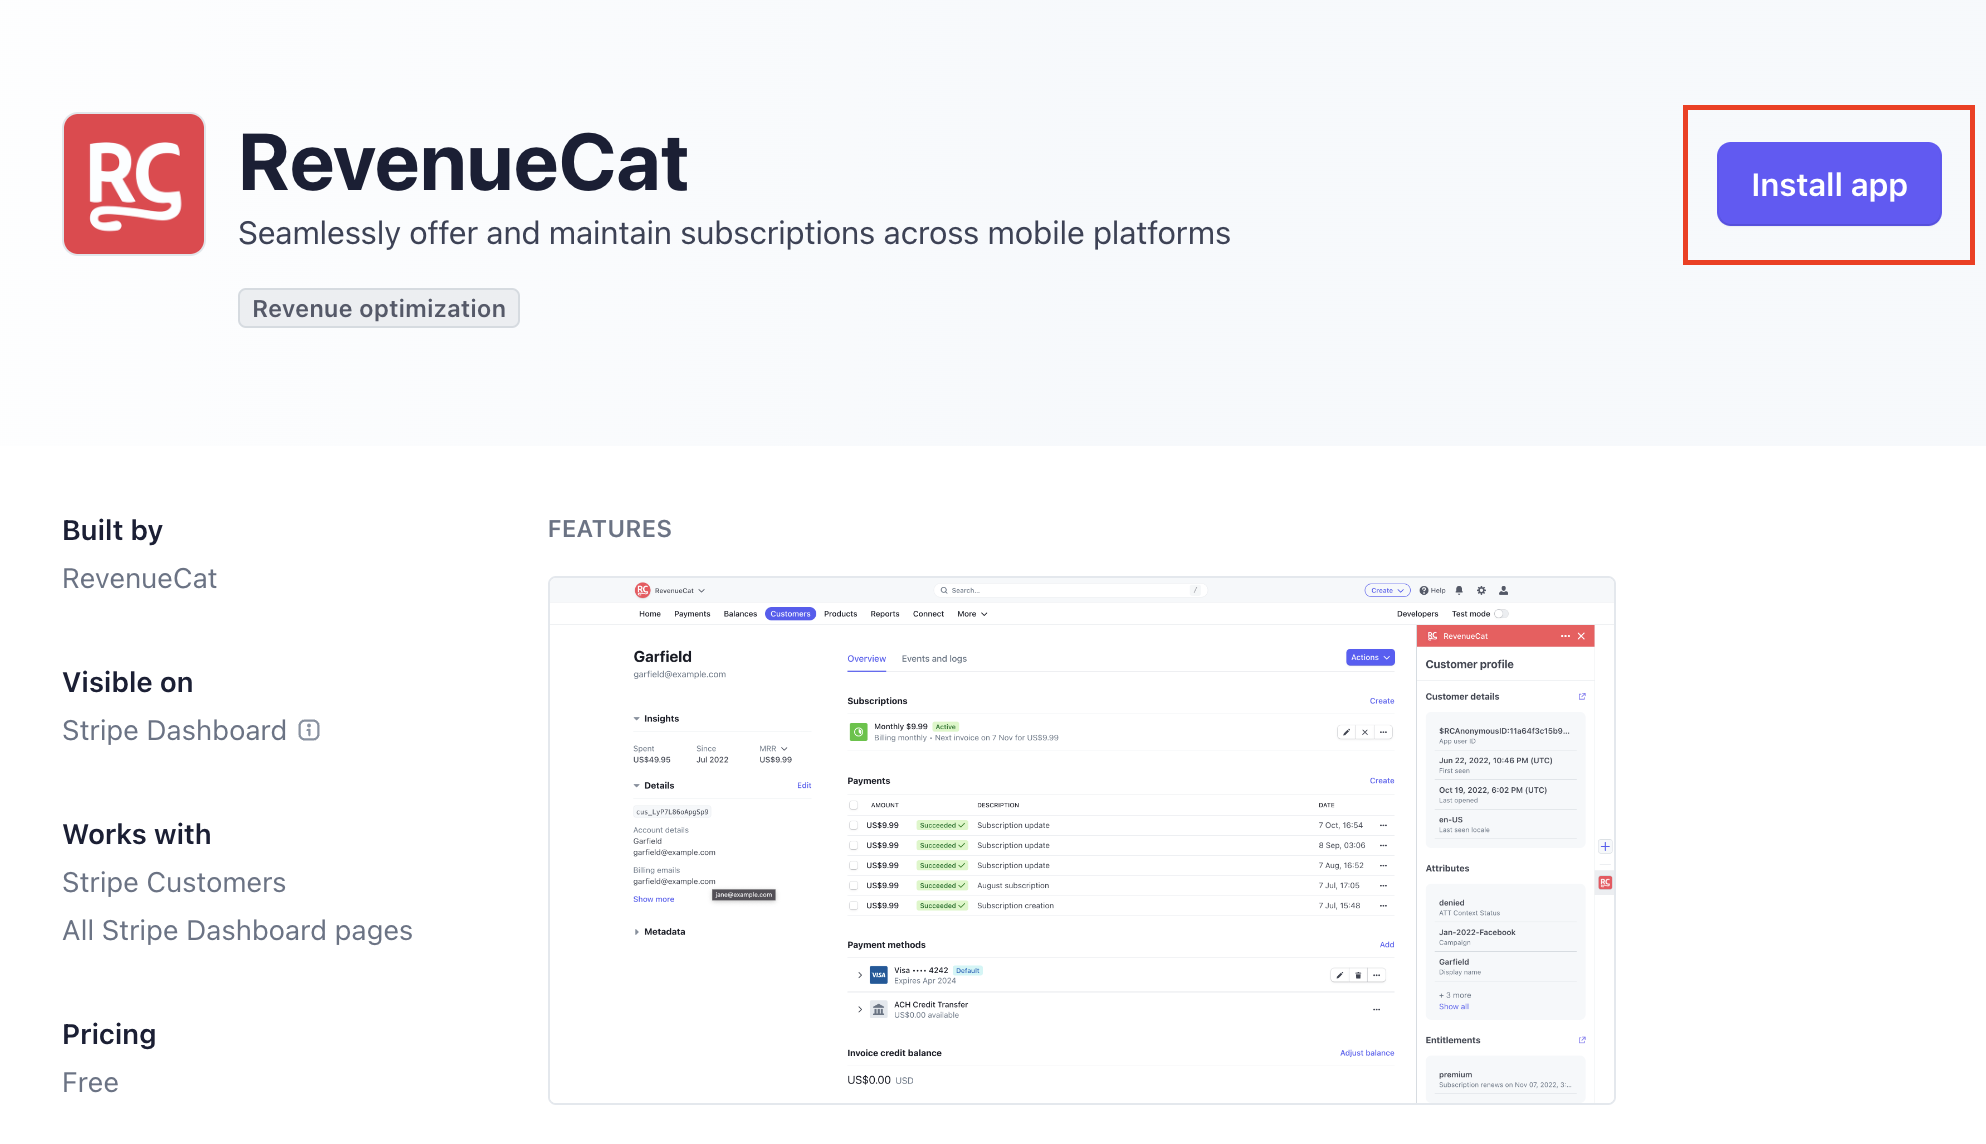
Install the RevenueCat Stripe App either by creating a new account with Stripe or sign in with your existing one. Make sure that the correct account is selected at the top right corner of the screen.
Finalize setting up the connection between Stripe and RevenueCat in the RevenueCat Stripe App.
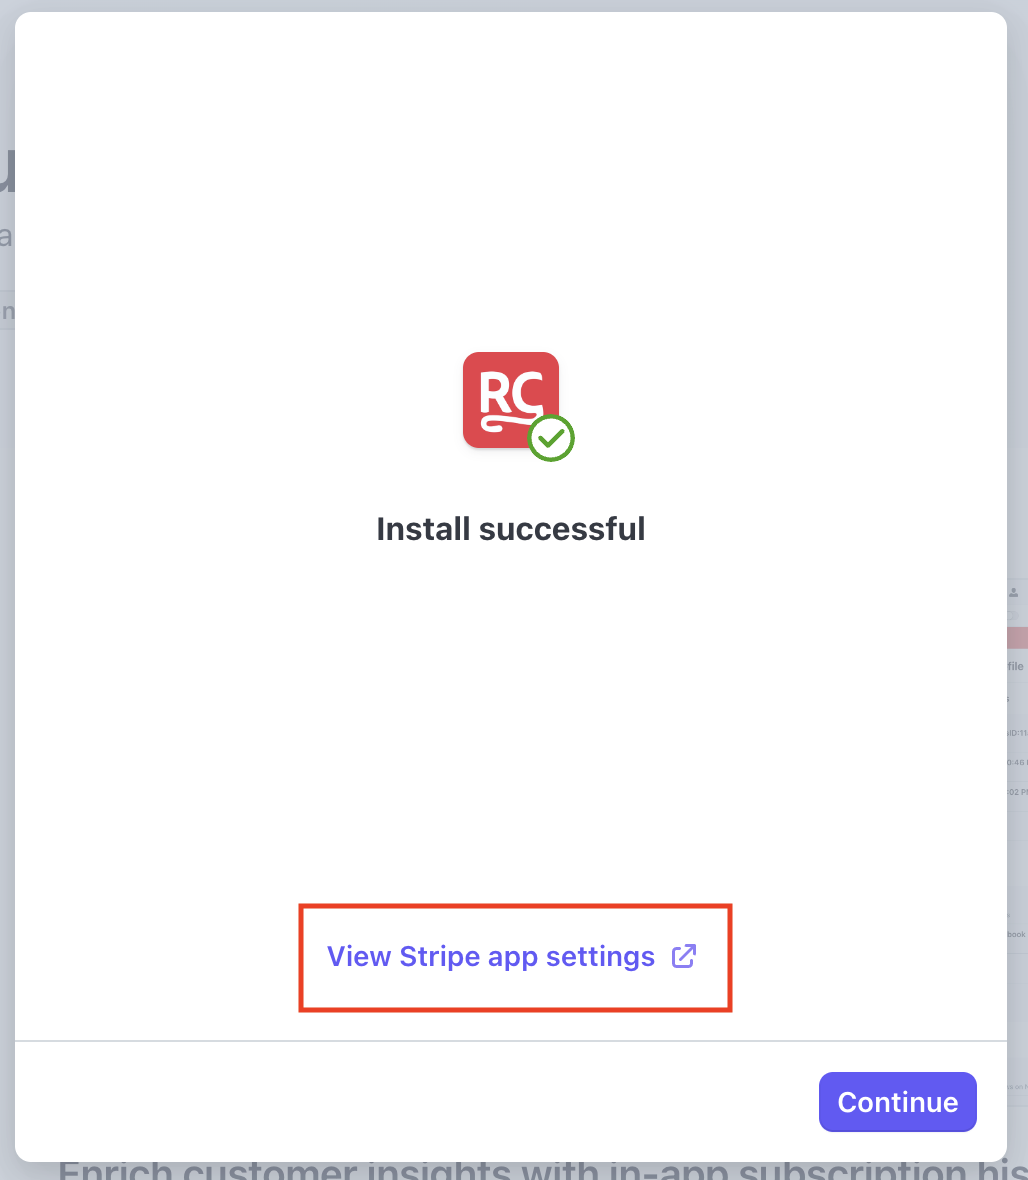
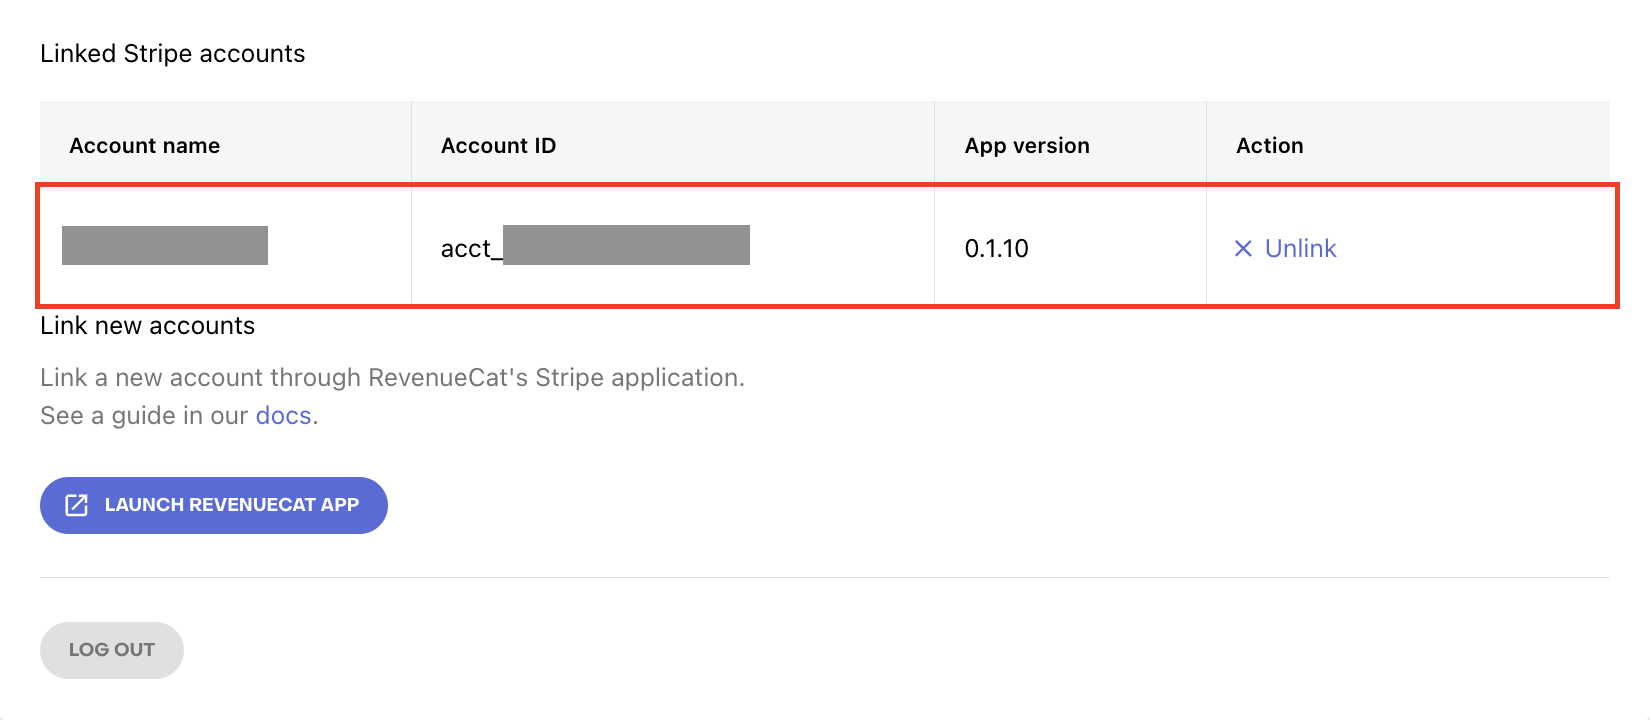
After this you should be able to see the connected account listed in your RevenueCat account page (you may need to refresh the page).
RevenueCat only requests the permissions from Stripe found here. These permissions are necessary for RevenueCat to interact with Stripe and track the purchases of your app. If the RevenueCat Stripe App is uninstalled, all the permissions are revoked and RevenueCat will not be able to track your app's purchases any more.
Only the owner of the RevenueCat project can connect a Stripe account for their apps - no collaborators will be able to add or remove a Stripe connection.
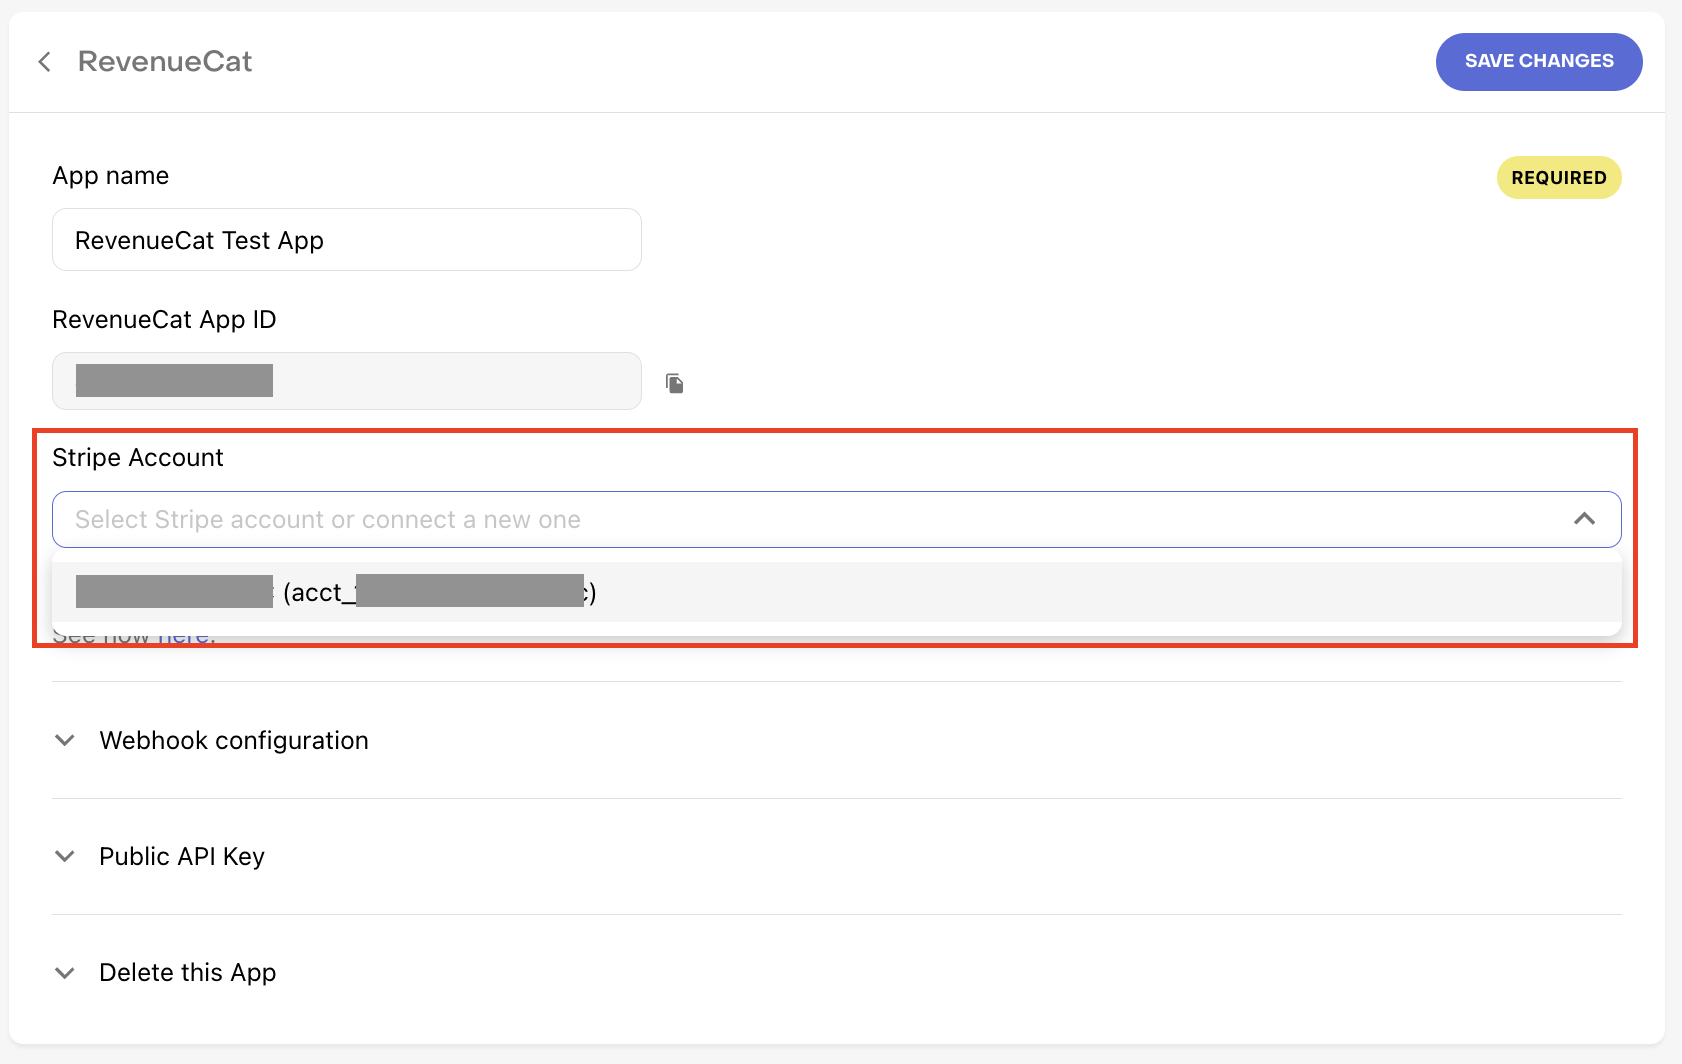
After you connect to your Stripe account, make sure that you select the account in your app configuration page:
You can connect to multiple Stripe Accounts by repeating the steps described above. Make sure that you are signed in to the correct account in Stripe dashboard every time you follow the steps. Then you can assign different accounts to each of your Stripe or RevenueCat Billing apps in the apps' configuration pages.