iOS Product Setup
To set up products for iOS, iPadOS, macOS, tvOS, and watchOS, start by logging into App Store Connect. App Store Connect is Apple's central hub for managing app releases, TestFlight, in-app purchases, and more. This guide assumes basic knowledge of App Store Connect, as well as having an app set up and ready for adding in-app purchases. For more information, visit Apple's documentation and guides for App Store Connect.
Before you set up your products, make sure you have the latest Paid Applications Agreement signed in in the "Agreements, Tax, and Banking" module in App Store Connect. You will not be able to test in-app purchases until the latest version of this agreement is signed with Apple.
In addition, go through the "Tax" and "Banking" tabs and sign any forms as required. You have to link a bank account to App Store Connect and have the status be "Clear" before being able to test in-app purchases.
Create an In-App Purchase
To create an in-app purchase, go to App Store Connect's 'My Apps' page and select your app from the list.

 In the sidebar, select 'Subscriptions' under Features, then click the '+' symbol to create a Subscription Group.

If you don't see the Subscriptions option, ensure your developer account has accepted all applicable contracts and have provided tax and banking information in the 'Agreements, Tax, and Banking' section of App Store Connect.
Signing all agreements and tax forms and adding banking information is required to continue through this guide.
Subscription Groups are ways to organize your products in App Store Connect so users are able to switch between products.
You can read more about Subscription Groups in our blog post here.
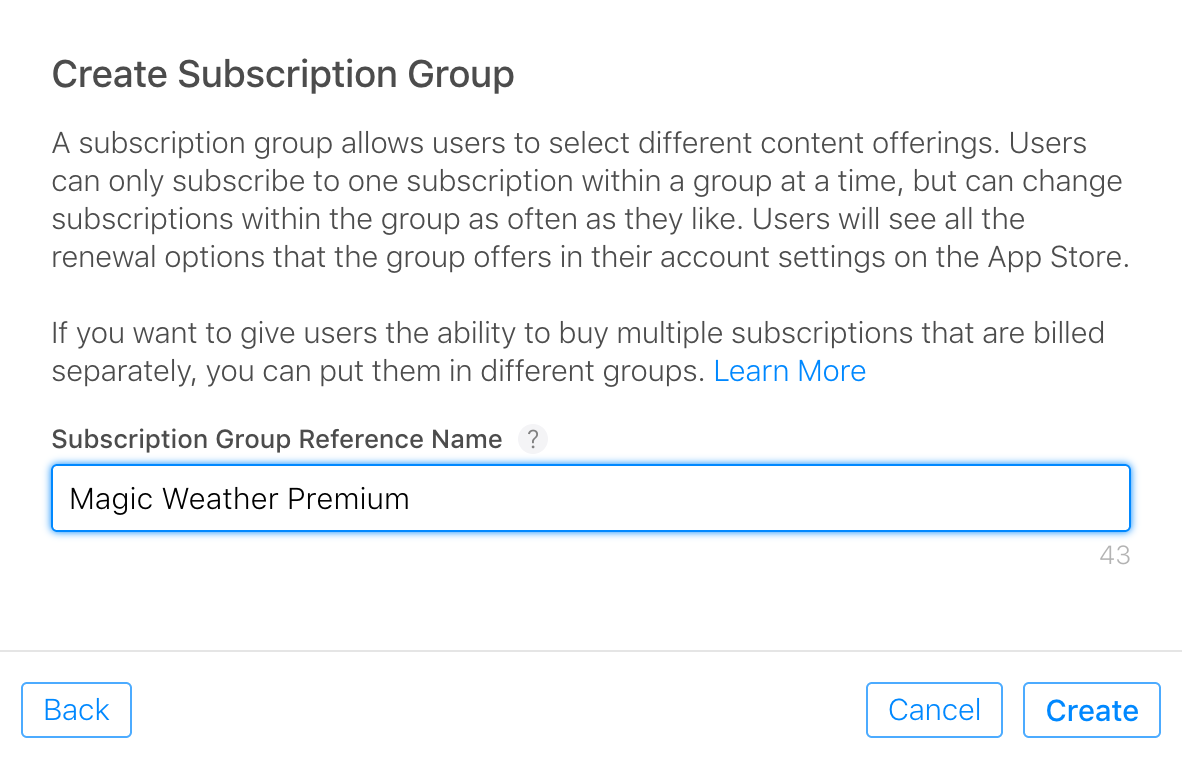
If you don't have any Subscription Groups configured yet, you'll be prompted to provide a Reference Name. Similar to the product Reference Name you set earlier, this is not user-facing so we recommend using a string you can understand.
After creating your Subscription Group, click the + symbol to add a new product to the group.

This process is going to configure an Auto-Renewable Subscription, but the steps are similar for other types of in-app purchases. To configure other types of in-app purchases, click the "In-App Purchases" tab in the sidebar instead of "Subscriptions".
Next, you'll be asked to provide a Reference Name and a Product ID.

- Reference Name: The reference name will be used on App Store Connect and in Sales and Trends reports from Apple. It won't be displayed to your users on the App Store. We recommend using a human readable description of the purchase you plan to set up. The name can't be longer than 64 characters.
- Product ID: The product Id is a unique alphanumeric ID that is used for accessing your product in development and syncing with RevenueCat. After you use a Product ID for one product in App Store Connect, it can’t be used again across any of your apps, even if the product is deleted. It helps to be a little organized here from the beginning - we recommend using a consistent naming scheme across all of your product identifiers such as:
<app>_<price>_<duration>_<intro duration><intro price>
- app: Some prefix that will be unique to your app, since the same product Id cannot but used in any future apps you create.
- price: The price you plan to charge for the product in your default currency.
- duration: The duration of the normal subscription period.
- intro duration: The duration of the introductory period, if any.
- intro price: The price of the introductory period in your default currency, if any.
In this case, I want to set up a yearly subscription with a one week trial for $39.99 USD. Using this format I've set my product identifier as:
rc_3999_1y_1w0
Using a consistent naming scheme across product identifiers in App Store Connect can save you time in the future and make it easier to organize and understand your products with only the identifier.
Setting Subscription Duration
Once your product is created, you'll be able to set the duration of the auto-renewable subscription. Use the duration dropdown to choose an option, and click Save.

Setting Subscription Price
To set the price of your subscription, click the '+' icon in the Subscription Prices section.

You'll be presented with a modal where you can select a Price from a dropdown in your default currency. When you click Next, Apple will automatically set the price in all App Store regions based off the price and currency you selected. You'll have the option to edit these, but we recommend sticking with the defaults. When done, click Create.

Last step, don't forget to Save!

Adding Introductory Offers and Free Trials
To add an introductory offer or free trial to your product, navigate to the Introductory Offers tab on the same page you just configured pricing. Click the '+' icon next to Introductory Offers to set one up.

You'll be presented with a modal with a few configuration screens:
-
Countries or Regions for Introductory Offer: Use this if you want the introductory offer or trial to be region specific. Most of the time the answer here is "no", so go ahead and click Next.
-
Introductory Offer Start/End Date: Set the start and end dates if you want the introductory offer or trial to be a limited time deal. In most cases, you'll be setting the Start Date to today and No End Date, then click Next.
On the last screen, you'll get to choose the Type of Introductory Offer. Free trials are the most common type of introductory offer, and that's what we'll set up here. Select the Free radio button and choose the desired Duration from the dropdown.
You can read more about the different Introductory Offer types in our blog post here.

Just like with regular prices, don't forget to click Save when you're done.

Adding Localization
The next piece to set up is localization information for the App Store. This is the name and description of the in-app purchase that the user will see.
In the App Store Information section, click the '+' icon next to Localization and choose the language you with to set up.

Next, you'll need to provide a Subscription Display Name and a Description.

The Subscription Display Name and Description will be visible to the user on the App Store and in their subscription management settings. We recommend a short display name that describes the level of access the purchase unlocks, and we recommend using the same Subscription Display Name for all of your products that unlock the same level of access.
Using the same name will result in a cleaner App Store listing and cause less confusion among users as your suite of products grow.
Use the same Subscription Display Name and Description for all of your products that unlock the same level of access. This results in a much cleaner App Store listing as your suite of products grows.
Add Reviewer Information
The last part of setting up an in-app purchase in iOS is adding information for the reviewer. This is a Screenshot, and optional Review Notes. Often times developers overlook the screenshot, but you'll be unable to submit your product for review without it.

- Screenshot: A required image of your in-app purchase paywall for the reviewer. While testing, it's okay to upload an empty 640 x 920 image here of whatever you want. Before submitting for review, you should add a picture of your paywall.
- Review Notes: An optional text area to clarify anything about your in-app purchase for the reviewer.
Subscription Groups
If you're configuring products for the first time and just set up a subscription group, you may see a warning in App Store Connect:
Before you can submit your in-app purchase for review, you must add at least one localization to your subscription group. Add localizations

Clicking on the Add localizations link will take you to the Subscription Group configuration. Similar to how you added localizations to the product, you'll need to add localizations to the Subscription Group as well.

Next, you'll need to provide a Subscription Group Display Name and an App Name. Like the Subscription Display Name you set up earlier, this will be visible to the user on the App Store and in their subscription management settings.


-
Subscription Group Display Name: Just like the product localizations, we recommend a short display name that describes the level of access the subscription group unlocks, and if you use a multi-subscription group strategy for things like price testing we recommend using the same Subscription Group Display Name for all of your subscription groups that unlock the same level of access.
-
App Name: Apple provides you with a couple of options for the app display name that the users will see on their subscription. You can choose your app name from the App Store listing, or a Custom Name. Using a Custom Name is useful if your App Store listing title is slightly different than your app name. For example, if your App Store listing was titled "VSCO - Photo Filters", you may want to use a Custom Name for your subscriptions of just "VSCO".
Use the same Subscription Group Display Name if you plan on creating multiple Subscription Groups that unlock the same content. Typically these types of strategies are used for price testing and offering discounts.
Don't forget to click Save before exiting.
Integrate with RevenueCat
If you're ready to integrate your new App Store Connect in-app product with RevenueCat, continue our product setup guide ➡️.