Apple App Store & TestFlight
This section assumes you've followed our Quickstart section of our Getting Started guide to install and configure our SDK.
Sandbox Considerations
Products, prices, and metadata
In sandbox, StoreKit Test, and TestFlight environments, prices will often not reflect the actual prices set in App Store Connect. This is due to these environments being relatively unstable, does not necessarily indicate an issue with your implementation, and is not commonly seen in the production environment.
In these testing environments, you should ensure the purchase flow works as expected, rather than the prices and metadata being accurate. Unfortunately Apple's API can sometimes just be inaccurate, especially with different regions set for devices/accounts.
Create a Sandbox Test Account
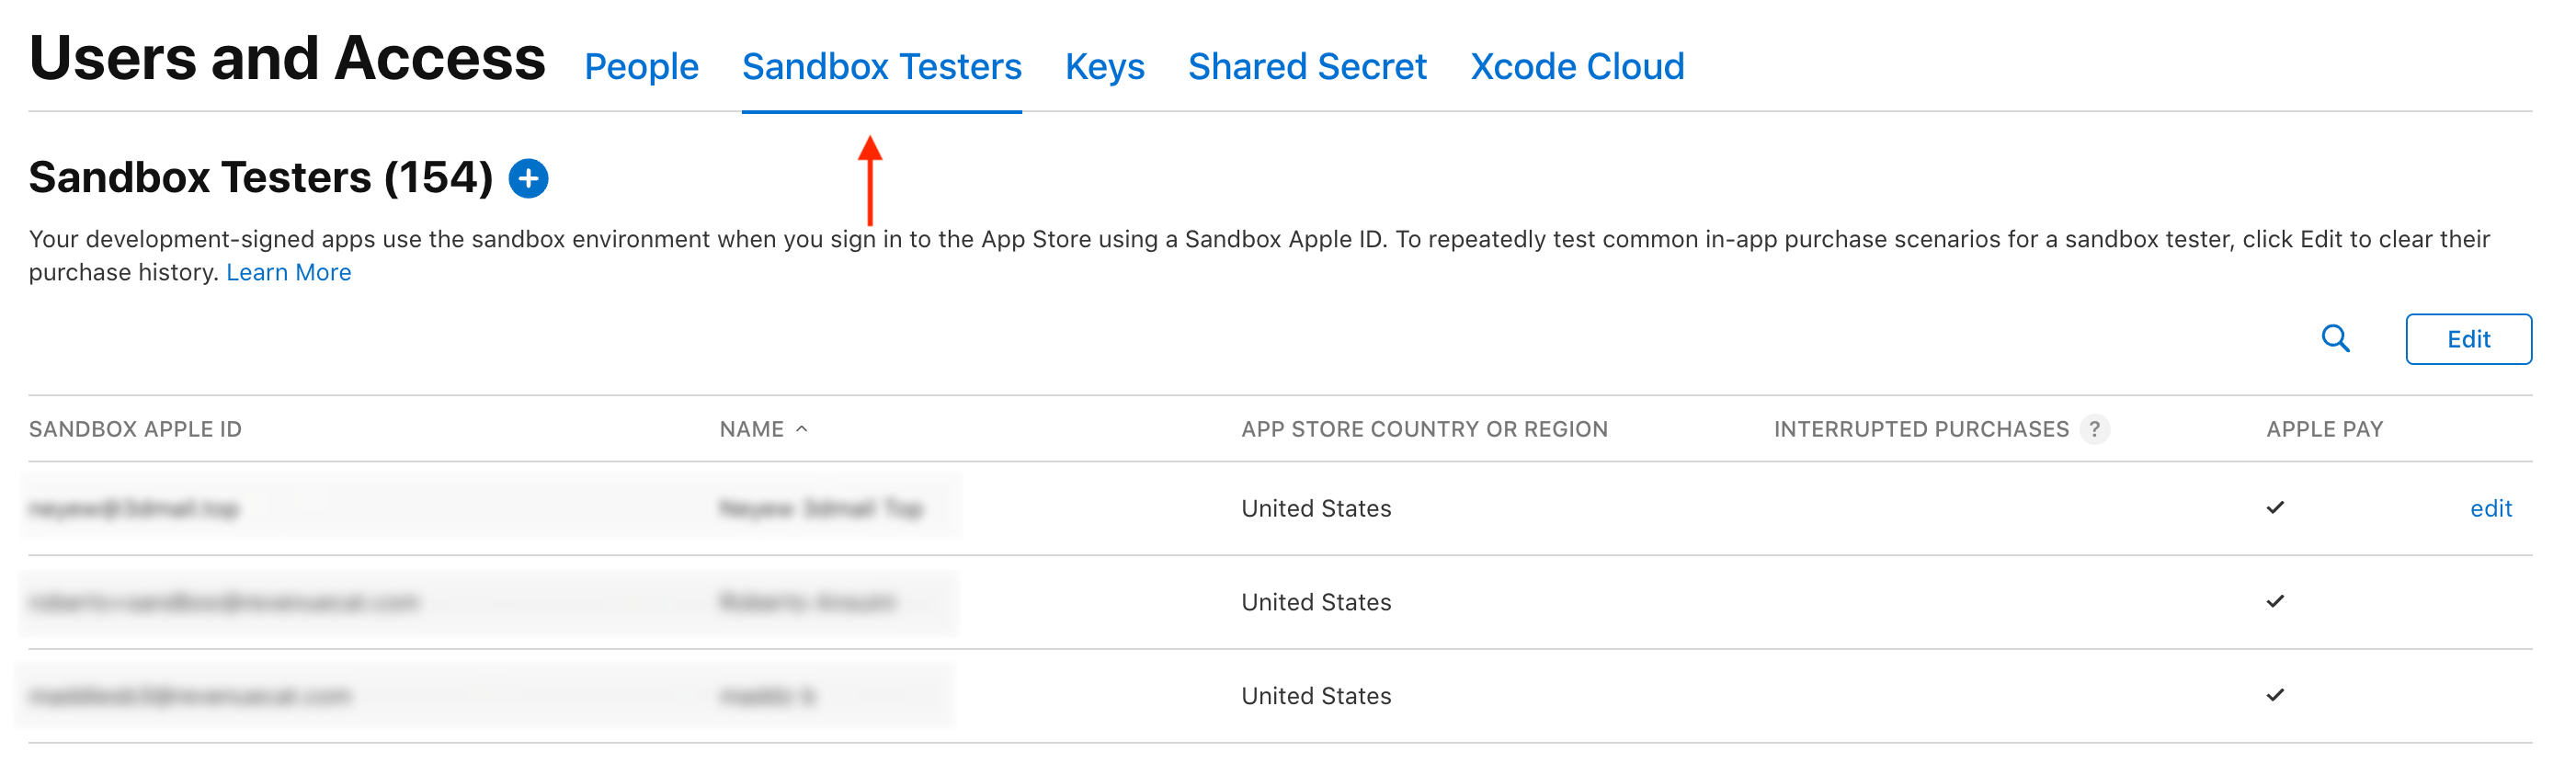
In order to test your purchases, you'll need a sandbox test account. You can create test accounts from your App Store Connect dashboard > Users and Access > Sandbox Testers.
If you need help, you can refer to Apple's guide on creating sandbox testers here.
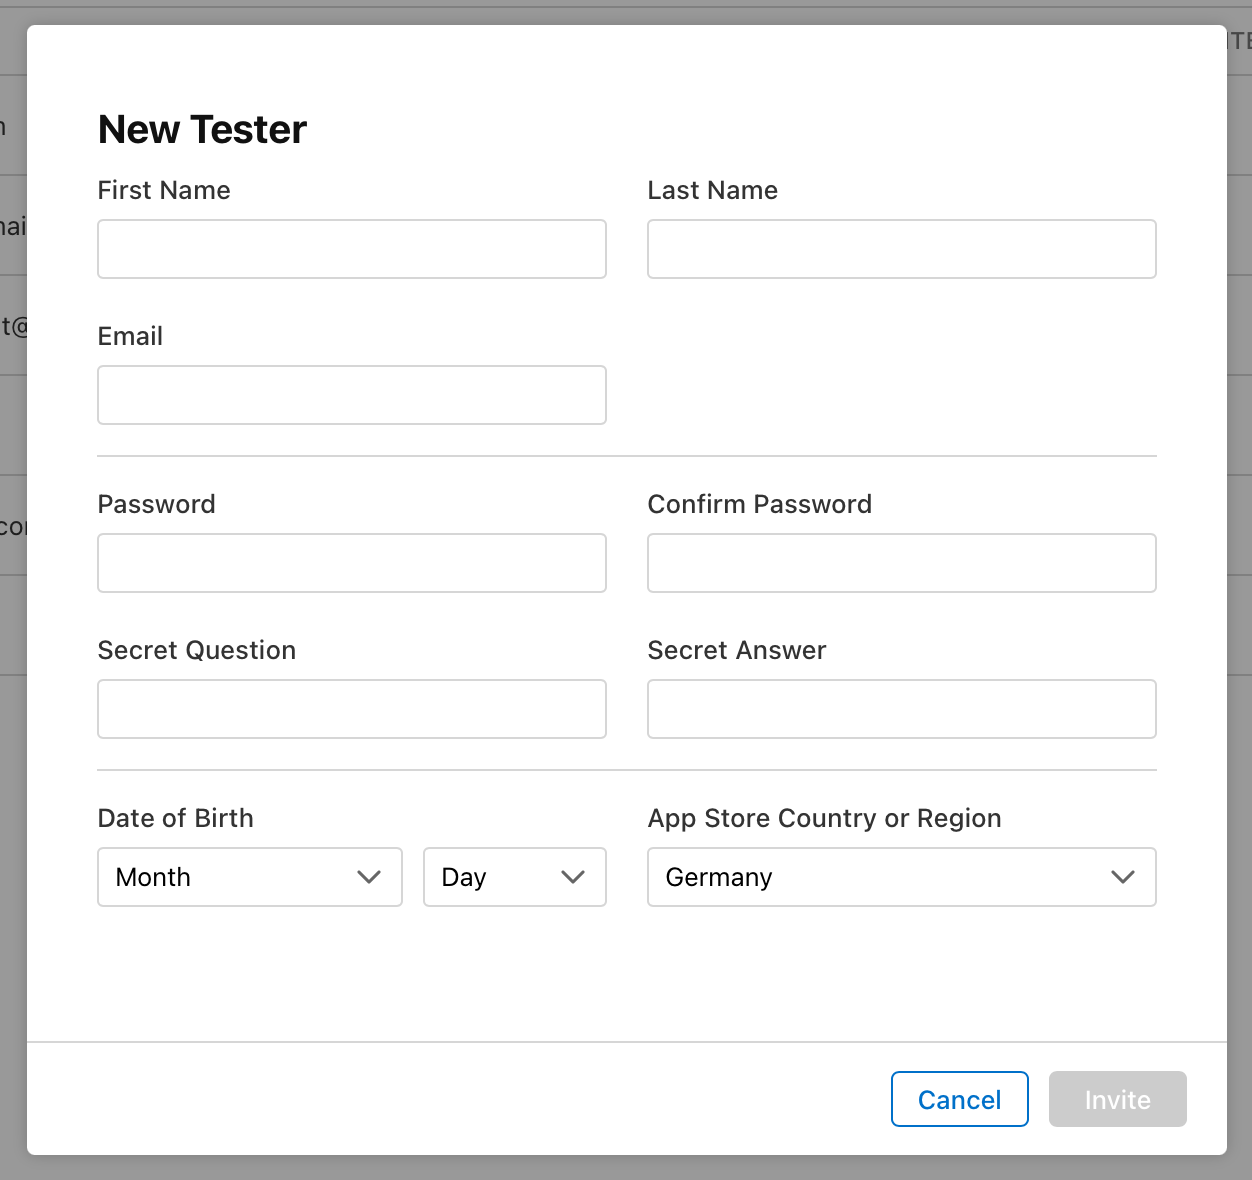
Keep in mind you'll need to create sandbox accounts with valid emails that you can verify you own.
Localization
To test purchases in different regions, you should set your sandbox user's App Store Country or Region property to the territory you'd like to test.
Testing on Device
This section is for testing on a physical device. If you want to test on the simulator, skip to the next section for instructions on how to get started with StoreKit testing.
Add the Sandbox Test Account to Your Device
On iOS 13 and earlier, even for sandbox purchases, you'll need to test on a real device. Starting from iOS 12, you're able to add a sandbox account to your device without having to sign out of your Apple Developer account.
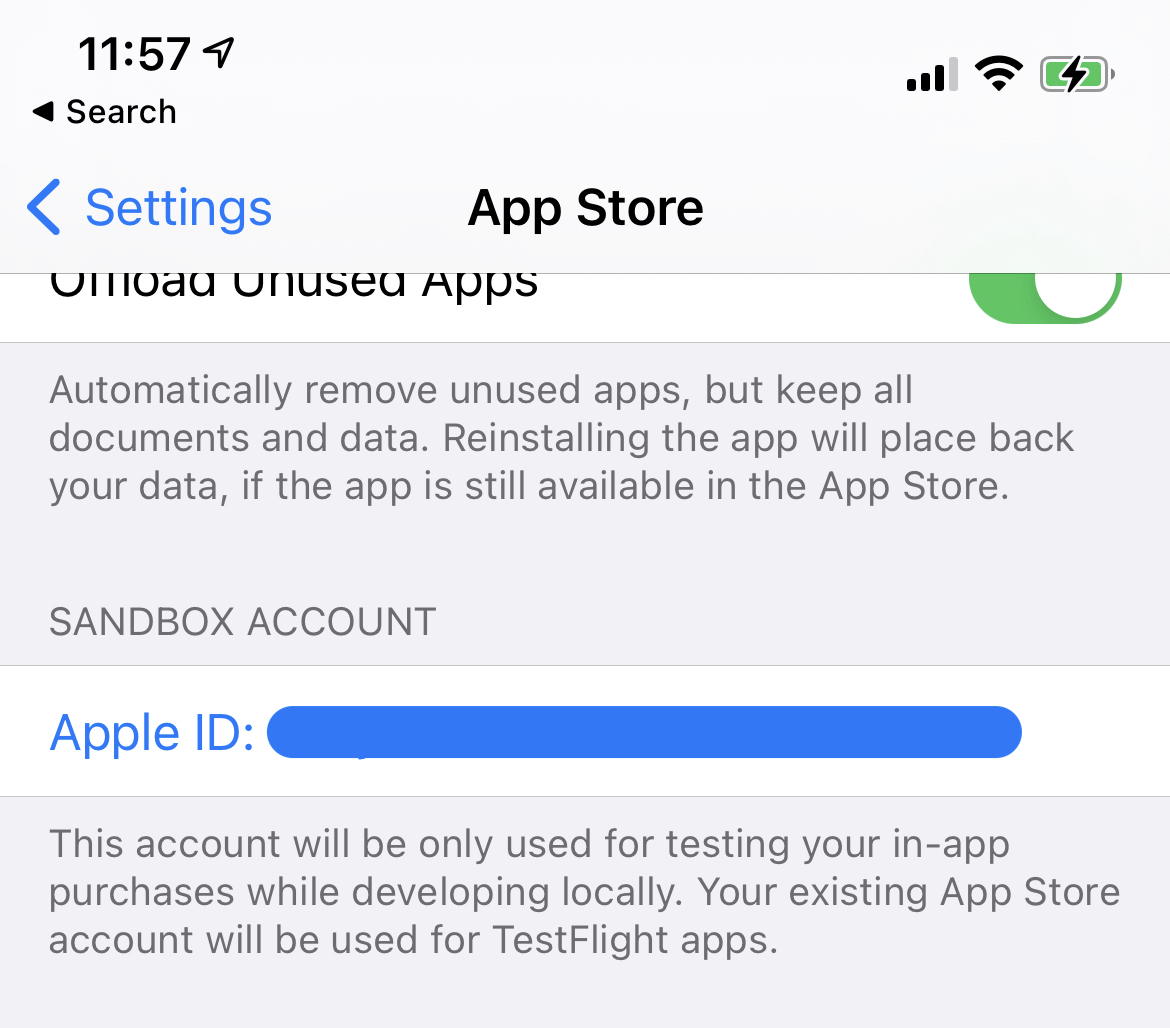
On iOS 12 or greater, navigate to Settings > [Your Account] > App Store > Sandbox Account.
On iOS 13 or greater, navigate to Settings > App Store > Sandbox Account.
On macOS 11.5.2 or greater, navigate to App Store > Preferences > Sandbox Account.
Add the sandbox account credentials that you previously created. (The sandbox account credentials won't appear until you've made a purchase using a sandbox account in a development build.)
If you do not see the option to add a sandbox account under iOS settings, make a sandbox purchase in your app. Apple will show a popup to enter login details, then you will see your account in iOS settings.
iOS 14+ Only: Testing on the Simulator
Starting from iOS 14, you can test sandbox purchases in the simulator. If you're using a physical device, you can skip this section.
Testing on the simulator requires one of these SDK versions:
| SDK | Version |
|---|---|
| iOS | 3.9.0+ |
| Flutter | 2.0.0+ |
| React Native | 4.0.0+ |
| Cordova | 2.0.0+ |
| Unity | 3.0.0+ |
Make sure to test on a real device if testing on iOS 13 or earlier.
StoreKit testing only works if you are running your app directly through Xcode. Any command line tools that use the xcodebuild command to start running an app (like flutter run or Flutter's VSCode plugin) won't use the StoreKit Configuration File specified in your scheme. This is a known issue and we have filed a feedback to Apple.
While you can upload a StoreKit configuration file with a macOS app, this setup is currently incompatible with the SDK. When making test purchases on the simulator, the transactions will appear to go through but you'll receive an error from our backend. It's recommended to test without configuration files until this is addressed.
While you can cancel and refund subscriptions through Xcode's Manage Transactions... window, these types of events are not stored in the receipt and will not appear on the RevenueCat dashboard.
However, the RevenueCat SDK is still able to detect there are no active subscriptions and the appropriate entitlements will be removed when the app is restarted again.
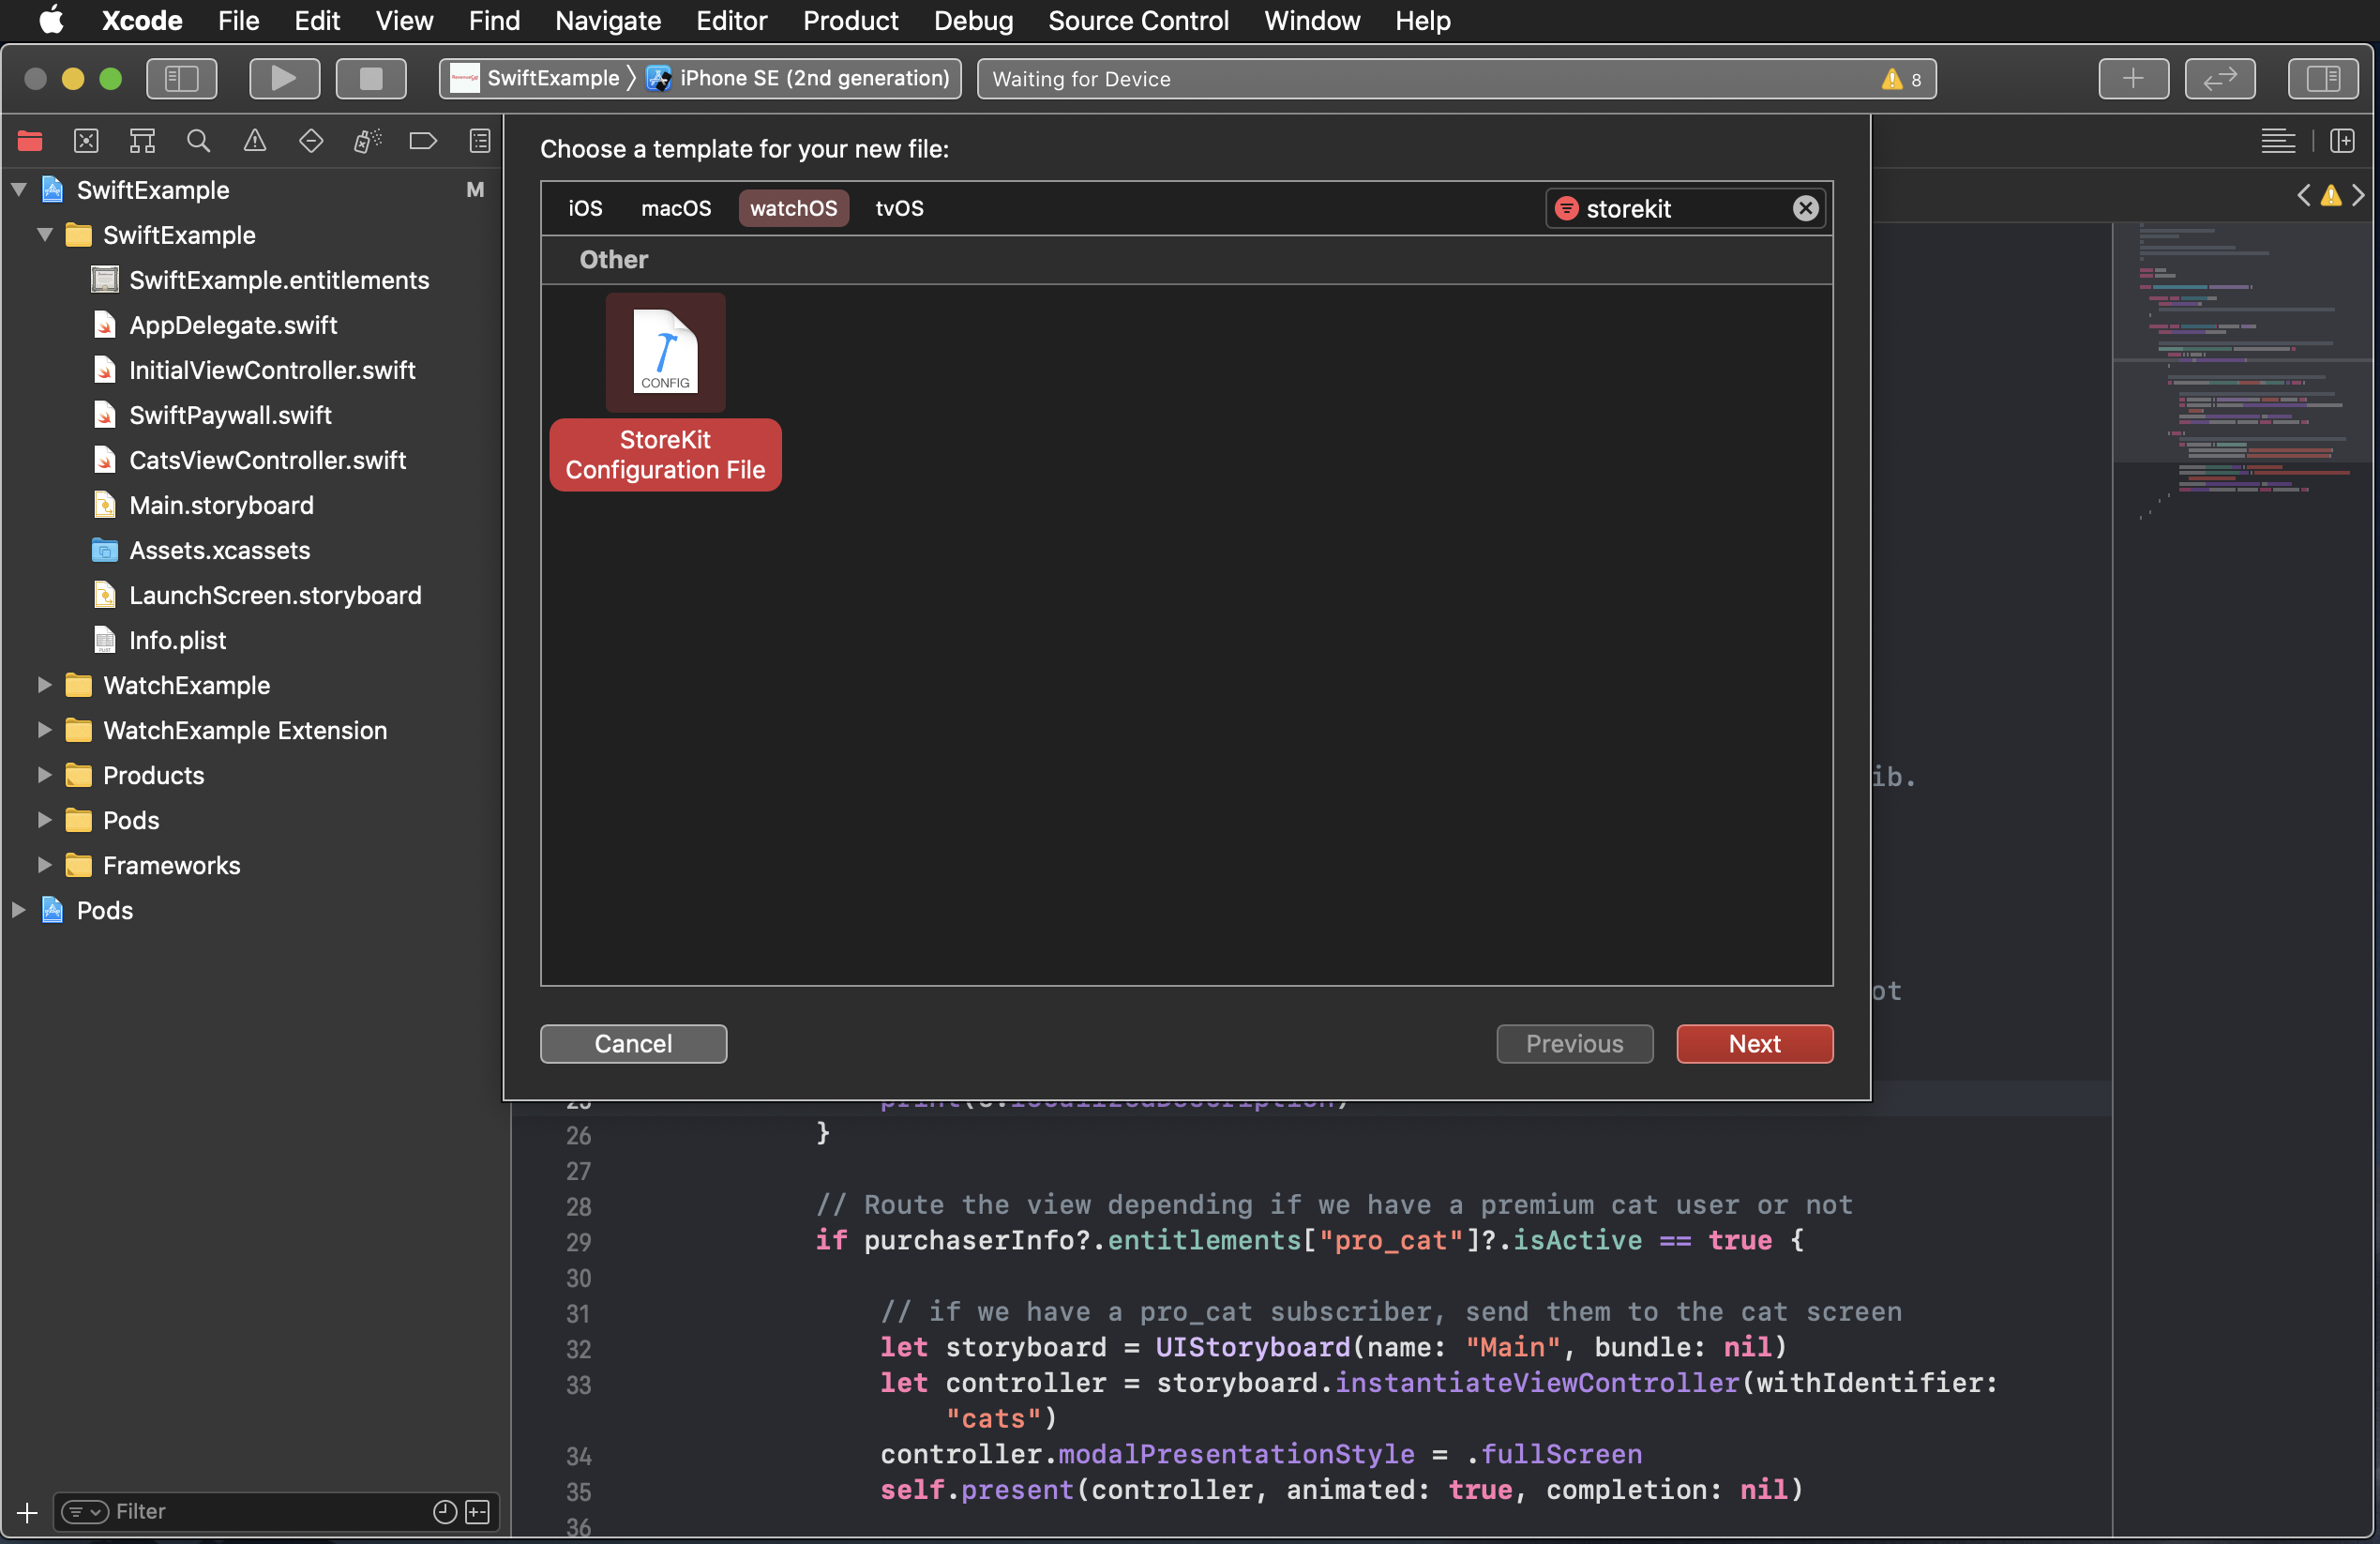
Step 1: Add a StoreKit Configuration File
Go to File > New > File... in the menu bar and select StoreKit Configuration File.
You can enable the "Sync this file with an app in App Store Connect" checkbox to have the file automatically configured with the in-app purchases or subscriptions already set up in App Store Connect.
Save the file in the top-level folder of your project and add it to your targets.

Step 2: Create a New Scheme for StoreKit Testing
Click the scheme in the scheme menu and click Manage Schemes...

Select your current scheme and click Duplicate.

In the scheme editor, add the StoreKit Configuration file you created in Step 1 and click Close.

Step 3: Setting up the StoreKit Configuration File
In the editor, click the "+" button at the bottom and create a new product. In this tutorial, an auto-renewable subscription will be created.
Enter a name for a new subscription group and click Done. The subscription group name should match one that is set up for your app in App Store Connect, but it's not a requirement. That means you can test your subscription groups and products in the simulator and then create the products in App Store Connect later.

Even though products don't have to be set up in App Store Connect, they have to be set up in RevenueCat so that RevenueCat can validate the sandbox receipt. Refer to the Configuring Products guide for more information.
Configure the subscription as needed by filling in the Reference Name, Product ID, Price, Subscription Duration, and optionally an Introductory Offer. Again, this product doesn't have to exist in App Store Connect for you to test purchasing in the simulator. Here is a sample configuration:

Repeat this for as many products as you want.
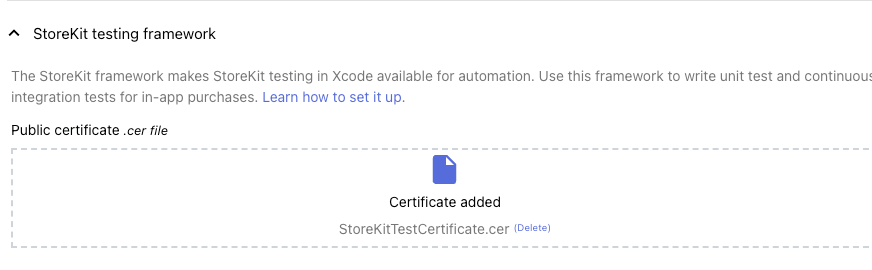
Step 4: Uploading the Public Certificate to RevenueCat
Go to Editor > Save Public Certificate and save the public certificate to your project.

Go to your app's configuration page in your RevenueCat project settings (Project Settings > Apps > [Your App]). Expand the dropdown StoreKit testing framework and upload the certificate to your app. If successful, you should see Certificate added.
You're ready to make purchases locally in the simulator!
Testing Subscription Offers on the Simulator
For sandbox and production subscription offers, they are signed using the In-App Key. However, when using a StoreKit Configuration file, the key used to sign offers must be exported from Xcode directly.
Step 1: Finding your Subscription Offers Key
Open the .storekit file where the subscriptions offers are configured, and go to Editor → Subscription Offers Key.
After selecting 'Subscription Offers Key', you will see your key ID and private key.
Note that the private key stored in the “.storekit” file is unique per file and Xcode allows you to re-generate the key for a given file. If you re-generate your key, be sure to follow these steps again to upload your new key to RevenueCat.
Step 2: Save your private key as a .p8 file
Manually save the text of the private key in a file called SubscriptionKey_XXXXXX.p8 where XXXXXX is the key ID. Following this example, the file would be named SubscriptionKey_BD3A7A04.p8.
We only accept files smaller than 512B. We recommend utilizing an editor such as Visual Studio Code when creating your .p8 file.
Step 3: Upload your file to RevenueCat
This file can now be uploaded to the RevenueCat dashboard under your iOS app settings page → Storekit Subscription Offer Key. Be sure to copy and paste over your key ID from Xcode to the Key ID box.
Don't forget to click 'Save Changes' in the upper right.
You're ready to make Subscription Offer purchases locally in the simulator!
Make a Purchase
Build and run your app on your device. When you attempt to make a purchase, you may be still be prompted to sign in with the sandbox account you just created.
Apple may prompt you to sign in with an Apple ID whenever you make or restore a purchase. When using the SDK, this could only happen when you call .purchase(package:) or .restorePurchases. Developers don't have control over the type of prompt that is shown (Face ID, Touch ID, password, etc.)
Apple's App Store Sandbox is notoriously unperformant. A sandbox purchase experience may take upwards of 15s to fully complete. This is normal. In production, total purchase times are usually in the low seconds.
Verify the Transaction Appears in the Dashboard
After a purchase is successful, you should be able to view the transaction immediately in the RevenueCat dashboard. If the purchase does not appear in the dashboard, it's not being tracked by RevenueCat.

Make sure the the View Sandbox Data toggle is enabled in the navigation bar.
Working with Subscriptions
In the the sandbox environment, subscription renewals happen at an accelerated rate, and auto-renewable subscriptions renew a maximum of six times per day. This enables you to test how your app handles a subscription renewal, a subscription lapse, and a subscription history that includes gaps.
Because of the accelerated expiration and renewal rates, sometimes not all renewals are reflected in the RevenueCat customer dashboard.
Deleting Test Users
When testing, it may be helpful to delete a customer and all their receipts from RevenueCat to simulate a new installation. You can delete a specific user from the customer dashboard in RevenueCat. See our docs on deleting users for more information.
For performance reasons, RevenueCat limits the number of App Store subscription receipts per customer to 100. Having more than 100 subscription receipts on a single customer is not going to happen in production, but can easily happen during sandbox testing. Simply deleting the customer will solve this problem.
Deleting local data
To clean up locally cached data, you can uninstall the app and reinstall.
On macOS, you need to manually delete data in UserDefaults, which can be done by going into ~/Library/Group\ Containers/, finding the app, and deleting the data.
TestFlight
TestFlight is a hybrid environment that uses production Apple IDs but purchases occur in sandbox, which can cause unexpected issues that are very likely undocumented by Apple.
Common Errors
If you're getting the error "Account Not In This Store" when attempting to make a purchase on macOS, try to:
- Switch your region to the recommended region
- Sign out of the App Store
- Relaunch the TestFlight app
- Attempt to make the purchase again, and sign in when prompted
Deleting the user from RevenueCat doesn't delete the user's purchase history with Apple. It only deletes the user's receipt and metadata from our servers. That means making or restoring purchases will restore those purchases with RevenueCat. To simulate purchasing as a completely new user, make sure to log out of the sandbox account on your device and create a new one.
Next Steps
For more information, take a look at the official Apple documentation:
Apple App Store: Testing in-app purchases